
When I was doing my herbalist courses at the healing college, they drilled it and drilled it into us that anything that could be used as medicine was especially precious and to get everything we could possibly get out of it.
Medicinally, ginger is used as an anti-inflammatory. Commonly it is taken to reduce symptoms of indigestion, nausea & vomiting, and for pain relief from arthritis and damaged cartilage. It is also an expectorant and is used to treat symptoms of heart disease. It is potent and not something you'd want to eat gratuitously especially if you are on blood thinners, taking prescription antacids or if pregnant. (FYI)
I considered some quick and easy recipes using ginger as a main ingredient. Ginger candy came up in my search results, and after reading the process of how to make the candy, it looked like I would actually be able to make ginger ale from what the ginger candy left over. ...Two birds with one stone. Cool!
So here we go to start making ginger candy and home-made ginger ale...
Kitchen, Kitchen, what are we fixin'?
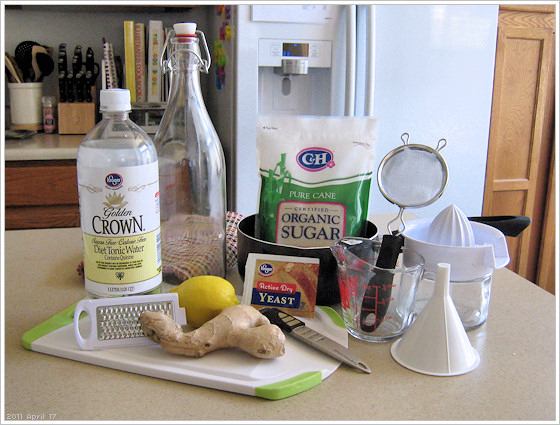
The ginger candy requires fresh ginger root and sugar. For ginger ale, add to it: lemon juice and active dry yeast. I will show you!
----Regular Ginger Ale----
How to make homemade ginger ale
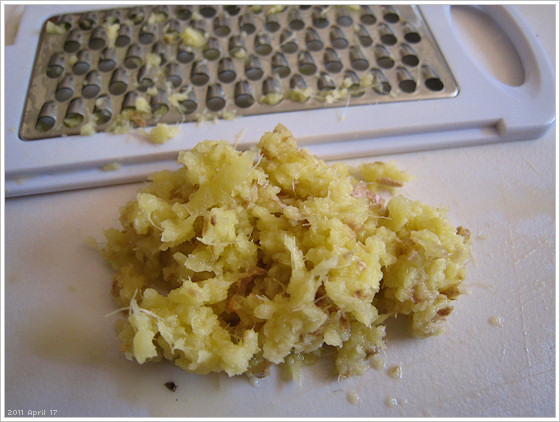
Grated ginger root. The recipe calls for nearly 2 Tbsp of fresh grated ginger for a 2L bottle. The bottle I am using for my product is a 1L bail-top glass bottle so I halved everything on the recipe.
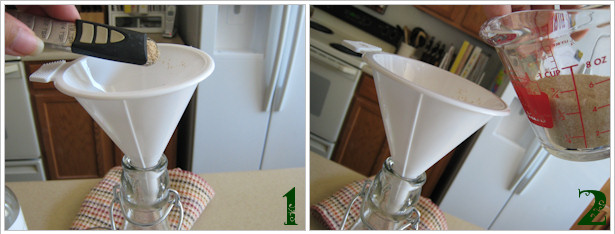
To the bottle I added 1/8 tsp of active dry yeast. ---- And then just under 3/4 cup of sugar. I used organic.
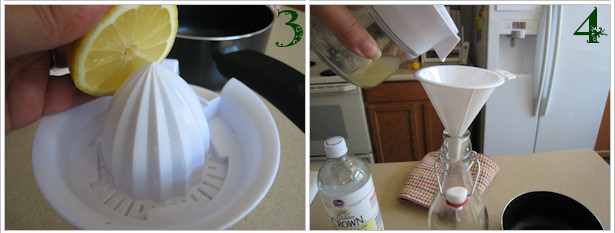
I juiced half a lemon and poured the juice into the bottle and added the grated ginger as well.
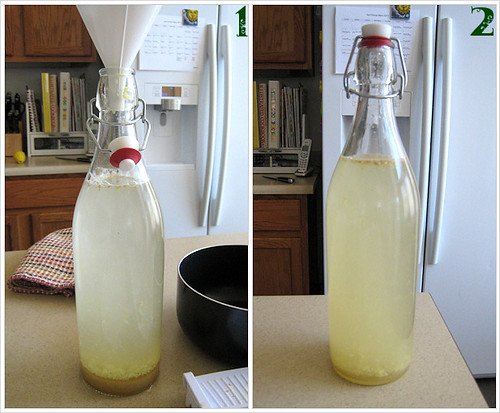
Last, I added water to the bottle, making sure to leave just over an inch of room for air at the top, and then sealed it up. The bottle is then carefully turned to agitate the contents and get them to mix up a little bit and then it is left to do its thing!
The active yeast feeds on the sugar, resulting in a release of carbon dioxide. This process of fermentation gives effervescence (light carbonation) to the drink. In the case of this recipe, alcohol content is very negligible. A more intense fermentation process would turn this into a true "ale" or beer.
From here, the bottle is left at room temperature (in an area about 75°F / 23°C ) for anywhere between 24 and 48 hours. In that time, pressure builds in the bottle. One thing I was warned about was being careful about the pressure building in the bottle. Left unchecked, the bottle will explode.
In most of the recipes I found, reuse of an empty 2 Liter plastic soda bottle is a convenient practice. In the case that a 2L plastic soda bottle is used, the bottle will be easy to squeeze once capped, and then as the fermentation process continues, the bottle will become more and more difficult to depress, exactly the way the soda bottles are when they are purchased sealed at a store.
I read a tip much later that said to simply cap the bottle with a balloon, and it would inflate as the gas pressure would build up. That would have been awesome to take progress shots of. Wish I had read it sooner!
The bottle I am using is a wire bail-top bottle. They can be found at stores like Target, WalMart, some grocery and health food stores, etc. for about $5.00 or $6.00. Stores like Ross, Marshall's, TJ Maxx and other discounters sell them for less. I got mine at Ross for $1.99
I'll talk about how it turned out at the bottom of the page. Now let's go make some ginger candy!
----Ginger Candy----
How to make homemade ginger candy
The rest of my ginger root was sliced into 1/8 inch thick medallions. I managed to fill a measuring cup to 1 cup with what I had left, and then adjusted the recipe accordingly. My recipe wanted to 2cups. Lucky me, I got to halve a recipe again. LOL.
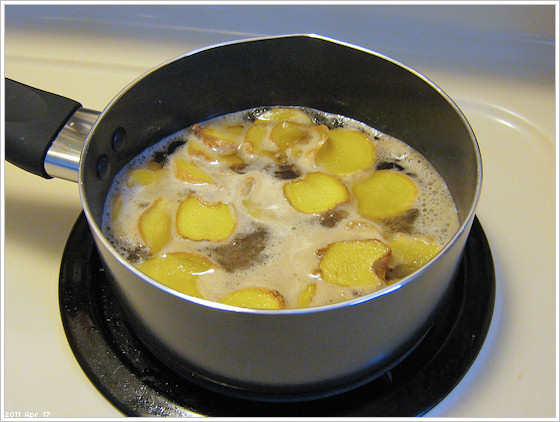
Into a small saucepan, the ginger was added to 1 cup of water and 1 cup of sugar. It is left to simmer on low for about 30 minutes. It took about 10-15 minutes to get it to the simmering point on a lower medium heat. In total, about 40-45 minutes on the stove.
While looking at several recipes I saw that some of them called for getting the water boil steadily. Higher temperatures can destroy active and vital compounds that actually provide the beneficial qualities of foods like this so, simmering at lower temps for just slightly longer is the way I preferred to go.
For the purpose of making the candy, simmering the ginger softens it while the sugar water is allowed to penetrate into the cells of the root to give the batch a sweeter flavor.
On the other hand, for the purpose of making a medicinal syrup, in herbalism this process is called decocting. Making a decoction is the process of extracting volatile oils and other compounds by boiling them out of hard organic matter such as a root, rhizome or tree bark.
If I were boiling the ginger in water without the use of sugar, the resulting decoction is stronger and far more potent than in a tea. The resulting product is considered truly medicinal, whereas a tea is something more passively therapeutic in comparison (more homeopathic). Decocting is the process by which the medicine men, and witches and warlocks are illustrated to be doing crazy things with a cauldron and were scandalously labeled as people dealing with the devil to have made healing miracles happen.
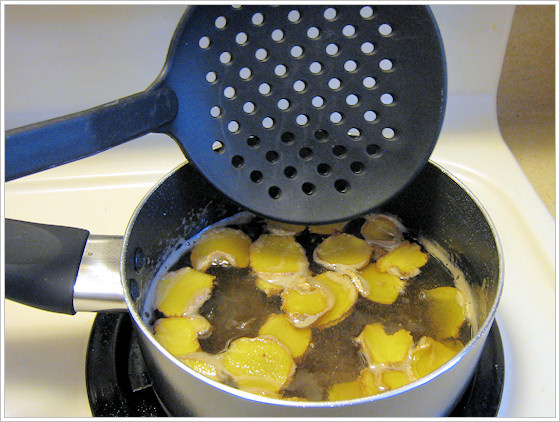
Back to the recipe, after about 40-ish minutes, the contents of the saucepan were reduced by about 50% or so and then it was time to fish out the pieces of ginger.
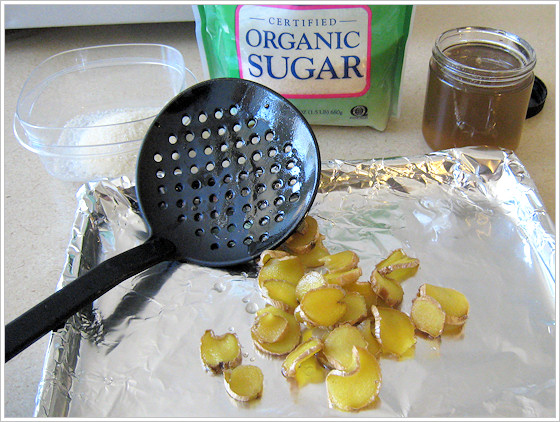
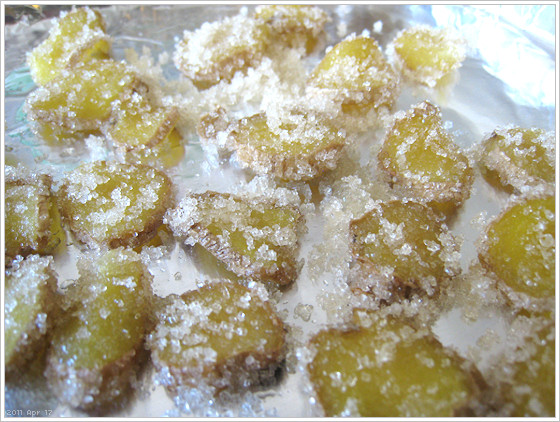
While fishing out the pieces of ginger, the syrup was poured into a glass jar. In my planning I wasn't prepared with a receptacle to hold the syrup actually, so pardon the funny looking jar. ;) I took the ginger pieces and rolled them around in a small bowl of sugar to coat them.
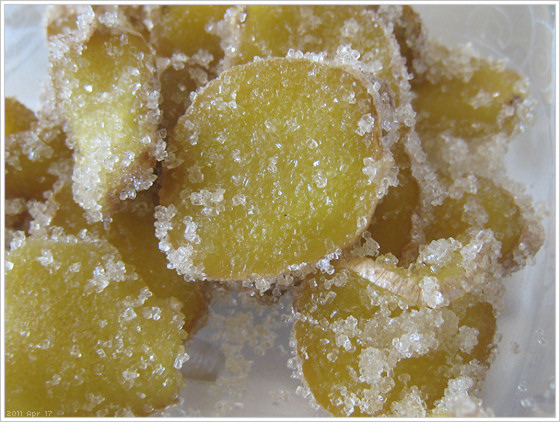
They looked so pretty already. And looked so edible. But they weren't done yet! lol. Still one more step in this process before they would be palatable.
I laid them out on a baking sheet. The recipe called for them to be baked for 2-3 hours at 255°F / 124°C. Of all the days I wanted to do this project, it turned out that yesterday the weather was 98°F / ~37°C outside so like... ya... lol... HOT. I did not want the oven on for 3 hours at any temperature. Whew! Ugh... mkay so the better alternative was to put them in the toaster oven. That worked just great.
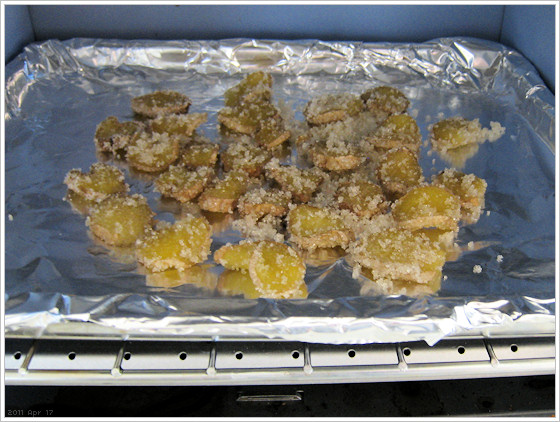
See you in about 3 hours! *waves bye*

After I pulled them out of the toaster oven they were nicely toasty-looking. Candying them wasn't so bad! The taste is a bit difficult to describe. It's almost like a spicy-ish licorice flavor (more of the black licorice type), somewhat of a mild, sweet clove-like flavor. I am not a fan of either black licorice or clove but this was good!
I think asking for the cuts to be 1/8 thick was almost on the edge of too much flavor. If I do this again, I would go slightly thinner and use less sugar in the recipe for the ginger medallions to simmer in. Very flavorful, though! The ginger pieces were just chewy enough; neither gummy or taffy-like. The sugar coating gave them a nice, crisp crunch. Great texture.
And so, for the syrup... a lot of things can be done with this. I chose to use it to make a diet ginger ale because, according to the internet at present, there is no way to make diet ginger ale, and I know how to! Fermentation requires actual sugar and use of that equals not a diet beverage. So we add syrup to carbonated water like one would to make soda pop.
So for people like me who are careful about sugar intake, the recipe for mostly home-made diet ginger ale would be something like this:
----Diet Ginger Ale----
How to make homemade diet ginger ale

Add 1 cup of sliced fresh ginger root to 1 cup of water and 1 cup of granulated Stevia extract. Simmer for 30-45 minutes on medium heat reducing the liquid to about 50%. When ready, remove the ginger root, straining the remaining syrup liquid into a jar or measuring cup. Allow to cool. (As the syrup cools it will become thicker and darken.)
Add the desired amount of syrup to diet tonic water, seltzer water, club soda, or carbonated mineral water. Since my initial approach to using the syrup was to take advantage of its medicinal value, my choice of what to mix the syrup with was diet tonic water, because it contains quinine.
Quinine is used to treat malaria. It isn't a concern here in developed countries, but does have properties that help to reduce a fever and in larger doses can be used as a pain killer. It also works to treat arthritis, and cramps such as leg cramps and stomach cramps. The bitters in it help to stimulate the production of enzyme amylase, which aids in digestion of foods and will also stimulate the appetite. The amount in tonic water is low, and quinine as a substance is regulated and standardized to minimize the dangers of its potential misuse.
In combination with ginger, it is a potent pain reliever. Anyone with a stomach flu or stomach issues especially, would benefit for sure, and if you don't have issues, it will work excellently as an aperitif at parties that have a multi-course menu.
I used half of the syrup I produced and mixed it into 1 liter of diet tonic water.
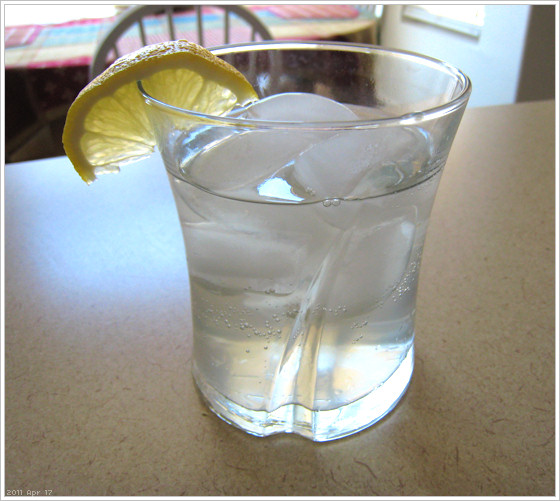
The flavor and color of home-made ginger ale is unlike what we buy in the store. Store bought ginger ale often does not have actual ginger in it, but a ginger-type flavoring with added coloring. Both the regular and diet versions of home-made ginger ale are light-colored like cloudy fresh-made lemonade.
It tastes hm... somewhat like a sweet lemon water with a dash of cinnamon? Again hard to describe, but can be made more mild or even sharper in flavor by tweaking the amount of ginger used in the recipes.
If you ever do have to buy ginger ale for someone who is feeling under the weather or has stomach issues, find the brand of Canada Dry that says on the label it is made with real ginger. (It is a bit hard to spot on the label.) Months ago I had to grab a bottle for someone and it also said on the label it had quinine added to it. I am not sure if it has enough ginger in it or not to consider its efficacy to be more than just the quinine and placebo effect, but that or tonic water are a lot more helpful and work quicker than franken-chemicals from the pharmacy.
Fun, fun, fun, easy, inexpensive and therapeutic even if you don't need it to be.
Happy herb-hacking!

Great recipes cannot wait to try them!
ReplyDeleteThank you, Rosanne. I hope it turns out well for you. Thanks for stopping by!
ReplyDeleteViolet
www.herbalogue.com
I am so glad I found this! very informative! (I also love the post about homemade almond milk! -- so much easier than I thought it would be!) Thanks!
ReplyDeleteThank you, Caitlin! I appreciate the comments. Best of luck in the kitchen with these projects!
ReplyDeleteLove the pictures! Great information!
ReplyDeleteThe balloon trick sounds like fun! :-)
Thank you so much for showing how simple it is to make your own.
What a great blog! Thanks for sharing...
ReplyDeleteThanks for the information, love your blog!
ReplyDeletein the ginger ale does the ginger and stuff dissolve? or is it still there when you drink it?
ReplyDeleteMany thanks, I love your observations about health and history! Good on ya.
ReplyDeleteGinger and aloe vera are such a gift. Your writing is clear and photos very helpful!
Thanks for the post. We just made root beer and it turned out pretty good. I like ginger ale and will give it a try.
ReplyDeleteNot only is ginger good for inflammation, it is also great for infections. I had a cat come home with a huge gash in his tail that got infected. I made a huge batch of ginger tea and dunked his tail in it. He wasn't at all happy but I only had to do it once before the infection began to clear. It was miraculous.
ReplyDeleteThanks for sharing so many wonderful ways to use ginger.
thanks for the info :)
ReplyDeleteGreat recipe and easy to do without wasting the ginger. I will make the ginger ale simply because i am curious to at the results. Thnks!
ReplyDelete